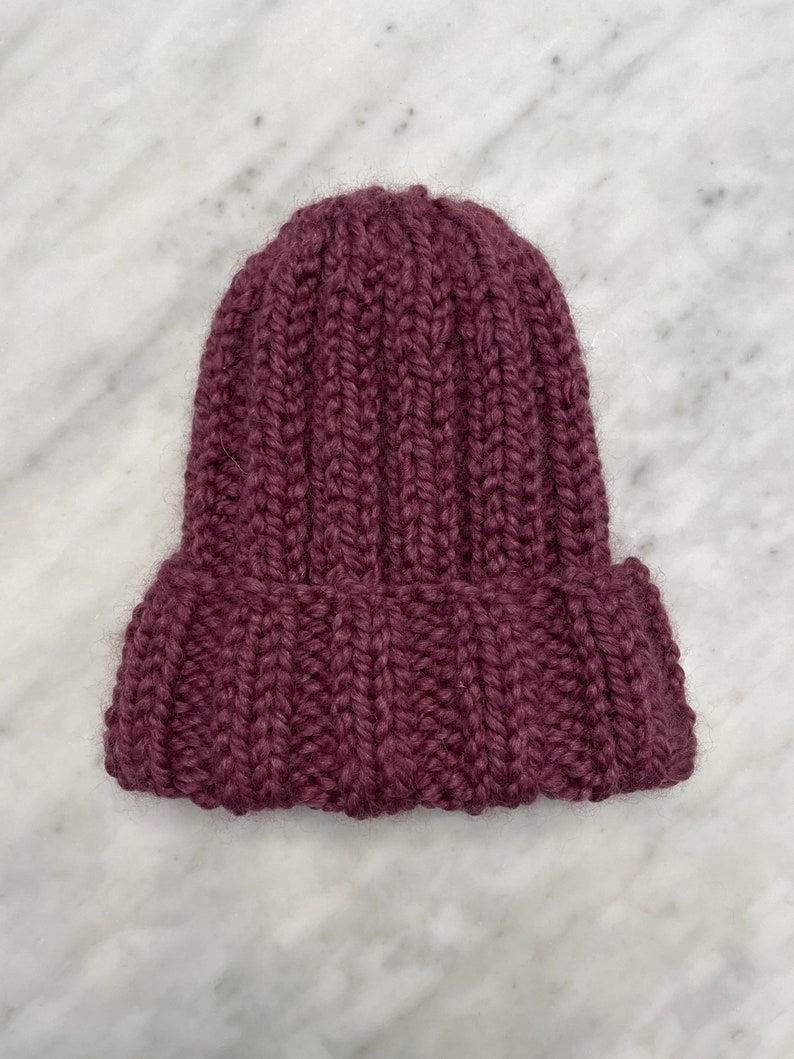
This free bulky knit hat pattern is one of the first patterns I ever sat down to write myself. Named after my son, the Izzy Beanie will always be one of my most treasured patterns. I'm here to share the details of this free bulky knit hat pattern with you today, so grab your circular needles and follow along!

Using super bulky weight yarn, the beanie knits up quick, and is a great project for both beginner and experienced knitters. The hat features a double ribbed pattern with a folded over, tighter fit. It can easily be made into a slouchier fit by simply knitting a few more rows than the pattern calls for, or wearing uncuffed.
For this project, you should be comfortable with a long tail cast on method, knitting in the round, and knit and purl stitch.
I used Lion Brand Wool Ease Quick & Thick yarn, shown in color "Fig." This yarn is very easy to work with and extremely comfortable when it comes time to wear your finished product.

If you'd like the ad free, PDF version of this this super bulky knit hat pattern, it is available for a small fee here.
Materials you will need:
Super Bulky 6 Weight Yarn – As I said above I used Lion Brand Wool Ease Quick and Thick in color “Fig.” This brand has lots of beautiful colors and is easy to work with. The blend is 20% wool, 80% acrylic and you will need 1 skein to complete the project
US Size 15 circular needles (10mm)
Place Marker
Common Abbreviations:
St- Stitch
PM – Place Mark
K – Knit
P – Purl
K2tog – Knit Two Stitches Together
P2tog – Purl Two Stitches Together
Gauge: 10 sts = 4” in pattern

Begin Pattern:
Using a long tail cast on method, cast on 44 st. Join to knit in round, being careful not to twist st
Body –
*K2, P2* to end of row
Repeat above row until hat measures 11 inches
Shaping
Row 1: *K2, P2tog* to end of row
Row 2: *K2, P1* to end of row
Row 3: *K2tog, P1* to end of row
Row 4: *K1, P1* to end of row
Row 5: *K2tog* to end of row
Break yarn, leaving 10 cm tail. Weave tail through remaining st. Pull tail to close top. Securely weave in any loose ends.
Optional: Create and fasten on your favorite yarn or fur Pom Pom.

Comments